
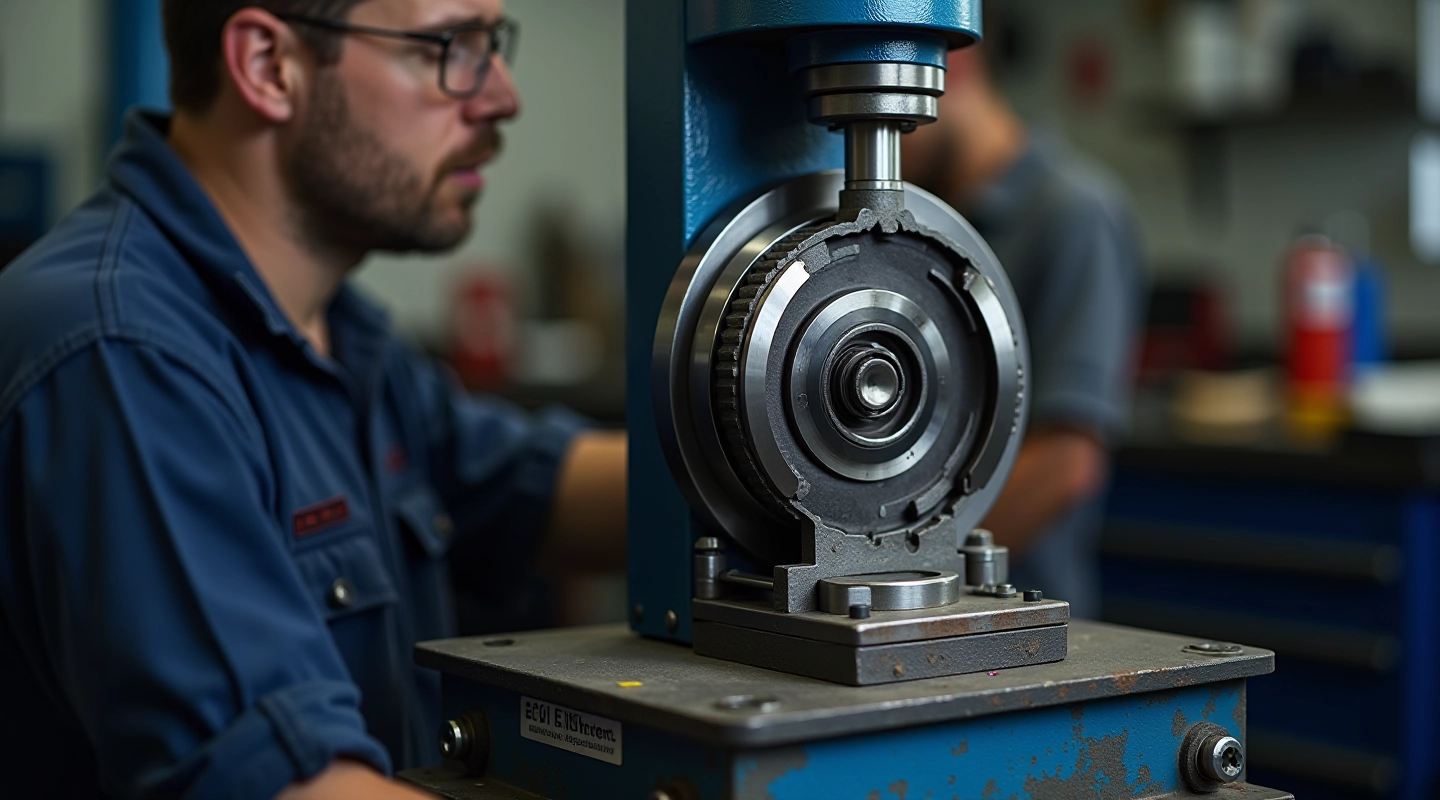
Bearing Press Setup and Pressure Settings
Learn how to prepare your bearing press correctly and set the right pressure for different bearing sizes. Covers equipment calibration, pressure calculations, and common setup mistakes.
Read GuideHow to test your work properly after bearing replacement. Includes rotation checks, sound tests, and measurement techniques for confirming correct installation.
Editorial Team
Written by the novaaldex editorial team, focused on clear, practical guidance for wheel bearing and hub assembly service.
Installation quality determines everything that comes after. You can have the best bearing in the world, but if it's installed incorrectly — misaligned, under-pressed, or over-pressed — it'll fail faster than a poorly maintained part. The difference between a bearing that lasts 100,000 km and one that fails at 20,000 km often comes down to how carefully you verified your work during installation.
This guide walks you through the tests we use here in Šiauliai to confirm every bearing installation meets our standards. These aren't complicated checks — they're practical, repeatable, and they actually catch problems before customers do.
Before touching anything, look at the bearing housing. Is the outer ring seated flush? Does it sit evenly all the way around, or does one side look higher than the other? If you see uneven seating, the bearing went in at an angle. This means it'll wear unevenly and create noise within days.
Rotate the hub by hand (or use the wheel if it's mounted). You should hear smooth, quiet rotation — almost no noise. If you hear grinding, rumbling, or clicking, something's wrong. Grinding means the races aren't aligned properly. Clicking suggests the bearing wasn't seated all the way into the housing.
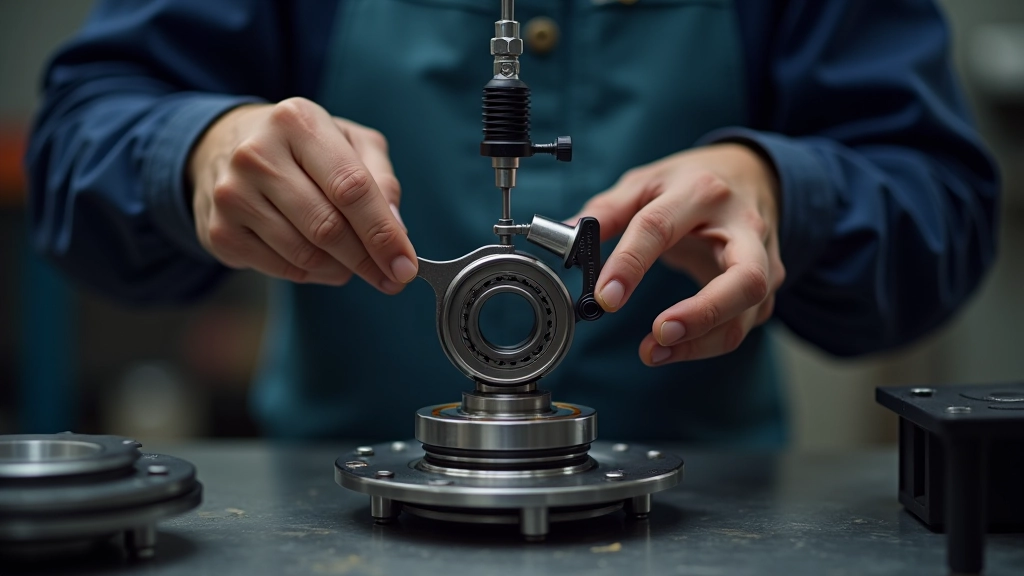
Use a dial indicator to measure axial play — the side-to-side movement of the hub. Proper clearance varies by bearing type, but typically you're looking for 0.05 to 0.15mm. Too much play means under-pressing. No play at all means over-pressing, which will cause premature failure.
After spinning the bearing for 30 seconds, feel the outer housing. It should be warm but not hot — you should be able to hold your hand there comfortably. If it's extremely hot, the bearing's under too much pressure or the races are binding.
Mount the hub on the vehicle or a test stand and measure radial runout with a dial gauge. Total runout should be under 0.1mm. Higher runout indicates the bearing wasn't seated straight or the hub itself is damaged.
You can't just eyeball bearing installation. The tolerances are tight — we're talking about differences measured in tenths of a millimeter. A dial indicator is essential. Mount it on a stable surface (a magnetic base works well), zero it on the housing, then slowly rotate the hub. Any needle movement shows you exactly how much play exists.
The same goes for measuring press pressure. If your press has a pressure gauge, use it. Don't estimate. Different bearing sizes require different pressures — typically between 5 and 15 tons depending on bore diameter. Under-pressing means the bearing will slip. Over-pressing causes race damage that won't show up until the customer's driving.
Keep your tools clean and calibrated. A dirty dial indicator gives unreliable readings. If you're not confident in your gauge's accuracy, recalibrate it or get it serviced. The 20 minutes this takes now beats the liability headache later.
This is educational information based on standard workshop practices. Bearing installation requirements vary by vehicle make, model, and bearing type. Always consult the manufacturer's specifications for your specific bearing and hub assembly. If you're unsure about any step, consult with a professional technician or the bearing manufacturer's technical support.
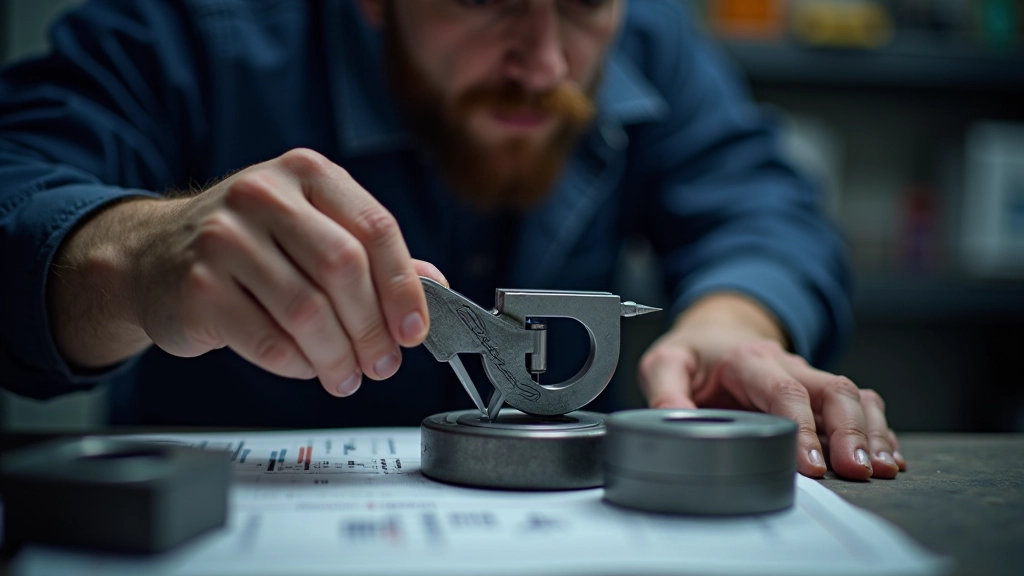
A humming noise during rotation usually indicates radial misalignment. The bearing's rolling elements aren't tracking correctly through the races. This happens when the hub isn't seated straight or when you used the wrong size bearing.
Excessive axial play (more than 0.2mm) points to under-pressing. The bearing wasn't driven far enough into the housing. You'll need to remove it and reinstall with correct pressure. Don't ignore this — the bearing will work its way further into the housing while the vehicle's being driven, causing even more problems.
Binding or resistance when you spin the hub suggests over-pressing. The inner race is being squeezed too tightly. This creates friction that generates heat and accelerates bearing failure. If you catch this during installation, you might be able to press the bearing back out slightly, but often you'll need to replace it.
Here's the complete sequence we follow after every bearing installation here in our Šiauliai facility. It takes about 15 minutes per hub and it's worth every second.
If any measurement is outside spec, stop. Remove the bearing and reinstall it. Don't try to make it work. Bad installations cause comebacks, warranty claims, and worst case, safety issues on the road.
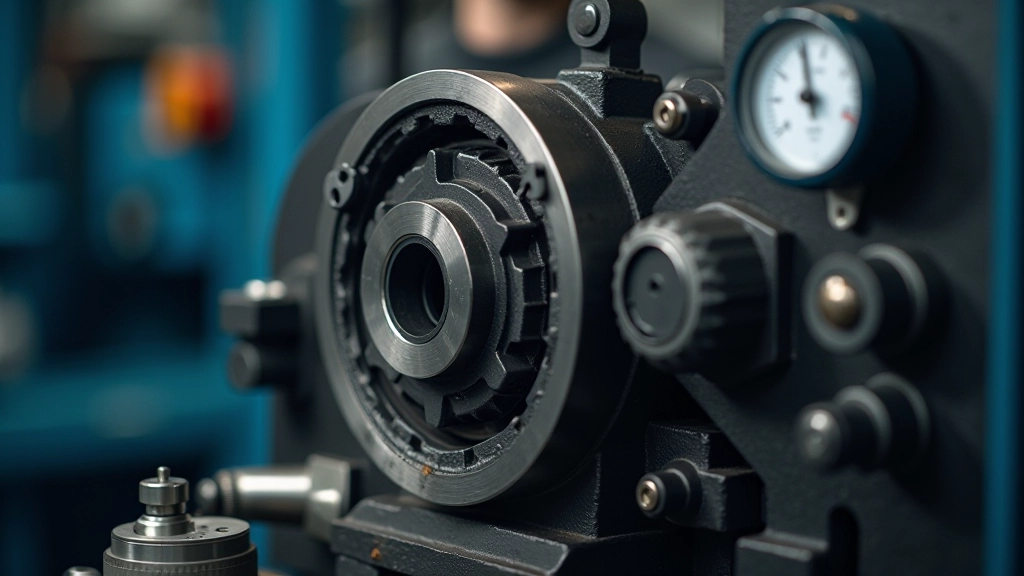
The installation itself is only half the battle. What separates good work from rushed work is what you do after the bearing goes in. We verify every single installation we perform. It's not because we're paranoid — it's because we know that a bearing that's wrong by 0.1mm will fail, and we don't want that failure happening under someone's car on the highway.
Take the time to do these checks. Get comfortable with your dial indicator. Know what good feels like — the smooth spin, the correct temperature, the right amount of play. Once you do, you'll spot problems immediately. And that's when you're installing bearings the right way.
Explore more technical guides on bearing and hub assembly work
Learn how to prepare your bearing press correctly and set the right pressure for different bearing sizes. Covers equipment calibration, pressure calculations, and common setup mistakes.
Read Guide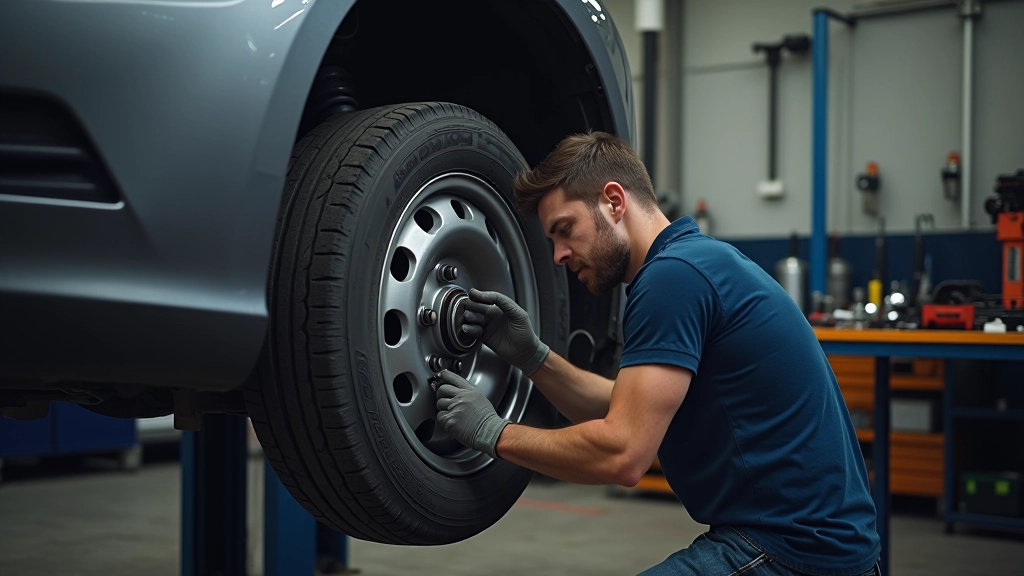
Complete guide to safely extracting hub assemblies from vehicle suspension. Covers tool selection, step-by-step removal procedures, and techniques for preventing damage to reusable components.
Read Guide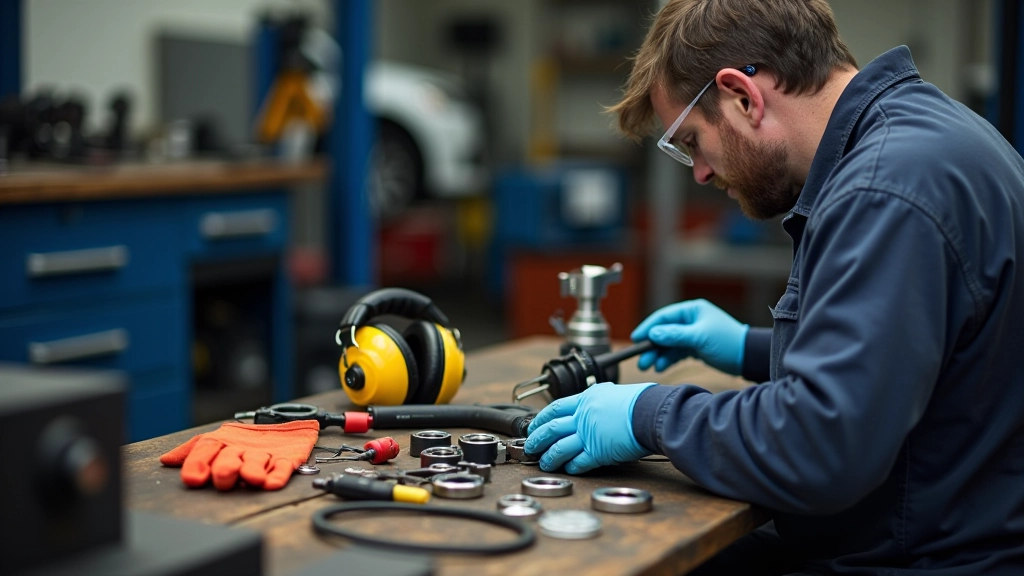
Essential safety protocols for bearing press work. Covers equipment safety, personal protective equipment, pressure system safeguards, and emergency procedures for our Šiauliai facility standards.
Read Guide