
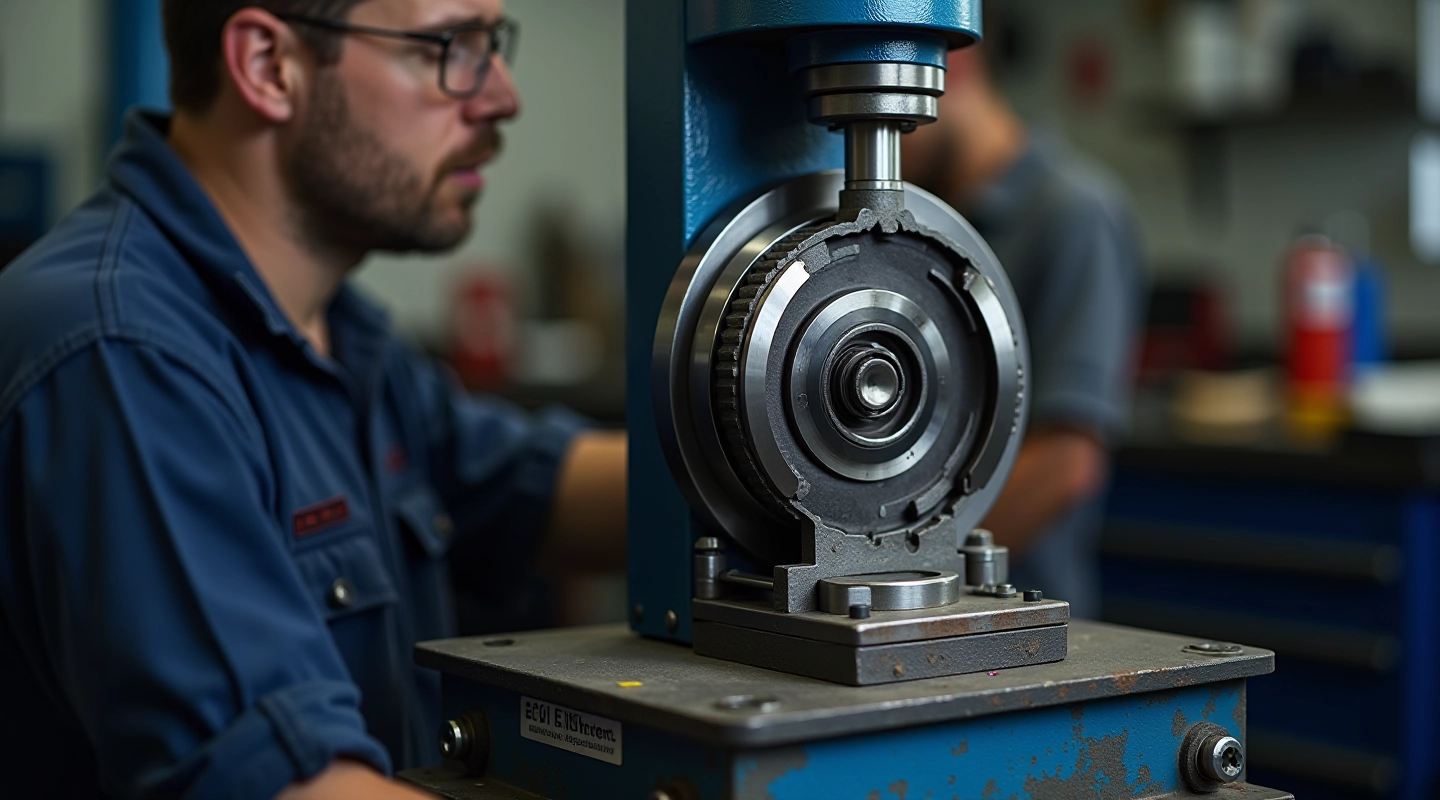
Bearing Press Setup and Pressure Settings
Learn how to prepare your bearing press correctly and set the right pressure for safe, accurate bearing installation without damaging components.
Read GuideLearn the essential techniques for safely extracting hub assemblies from vehicle suspension without causing costly damage to brake components or threaded surfaces.
Editorial Team
Written by the novaaldex editorial team, focused on clear, practical guidance for wheel bearing and hub assembly service.
Removing a hub assembly isn't complicated if you know what you're doing. But rush it or skip a step, and you'll spend hours fixing threads or replacing damaged components. We've seen it happen too many times.
The hub assembly connects to your suspension, brake system, and wheel bearings. It's not just one part — it's a precision-engineered unit that requires careful handling. One slip with a hammer or the wrong socket, and you're looking at replacement costs that make the original job seem cheap.
Here's what we'll cover: how to prepare properly, the exact sequence of disconnections, and the techniques that keep everything intact.
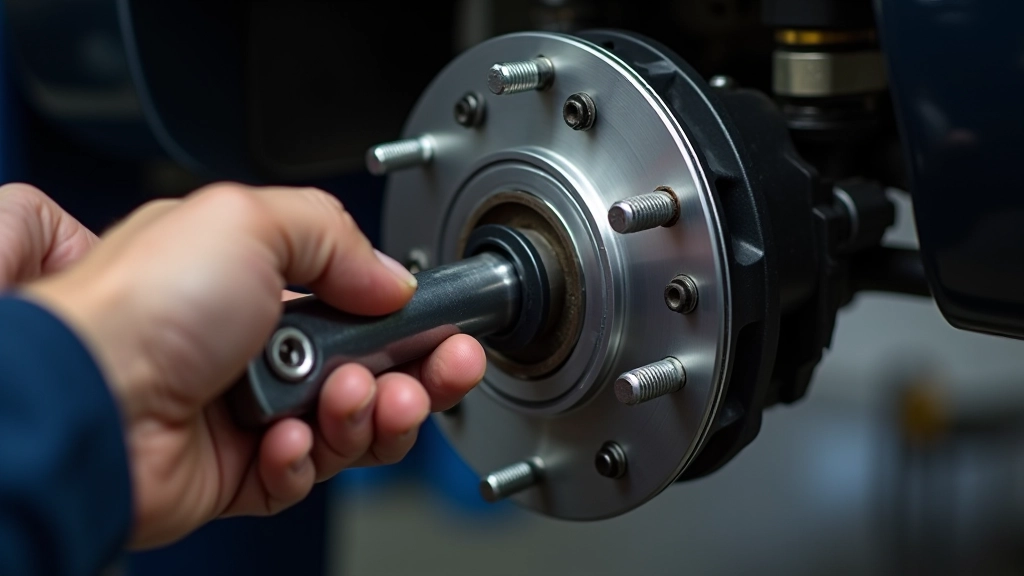
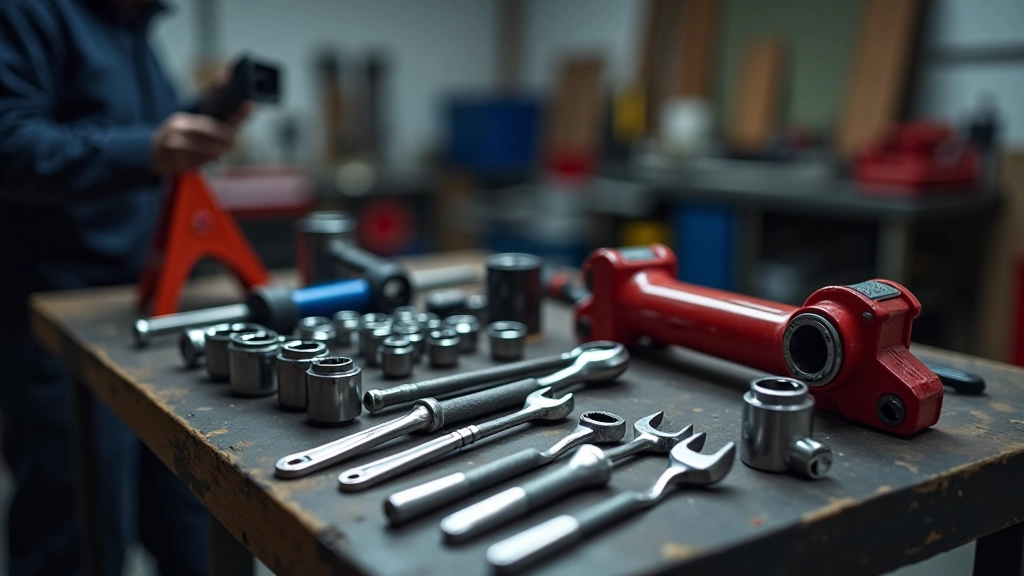
Before you touch anything, get your setup right. You'll need: a properly rated jack, jack stands rated for your vehicle weight, a breaker bar (not just a regular ratchet), and sockets in metric sizes. Most modern vehicles use 17mm or 19mm hub nuts.
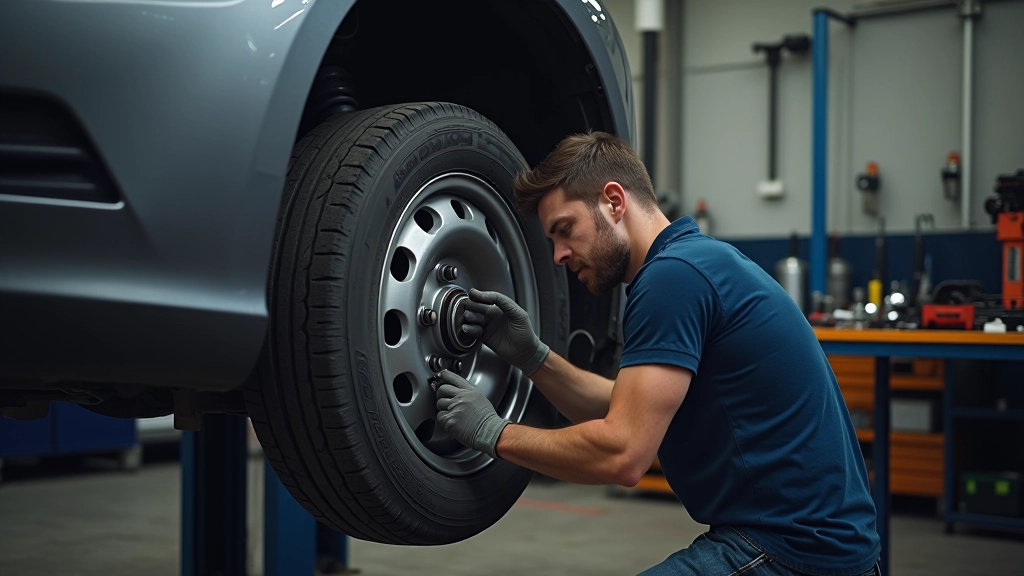
Park on level ground. Engage the parking brake and chock the rear wheels. Don't skip this — a rolling vehicle has ended many jobs badly. Then loosen the wheel nuts slightly before jacking. This is important because once the wheel's off the ground, you don't want to discover you can't break those nuts loose.
Raise the vehicle with the jack, then secure it with jack stands under the frame. Lower the jack partially so the stands carry the weight. This is your safety net. The jack's just backup.
This guide is educational information about hub assembly removal procedures. Specific techniques and safety requirements vary by vehicle model and condition. Always consult your vehicle's service manual and follow manufacturer recommendations. If you're unfamiliar with vehicle maintenance, have a qualified mechanic handle this work.
Take off the wheel completely. Set it somewhere safe where it won't roll. You're now looking at the brake assembly and the hub.
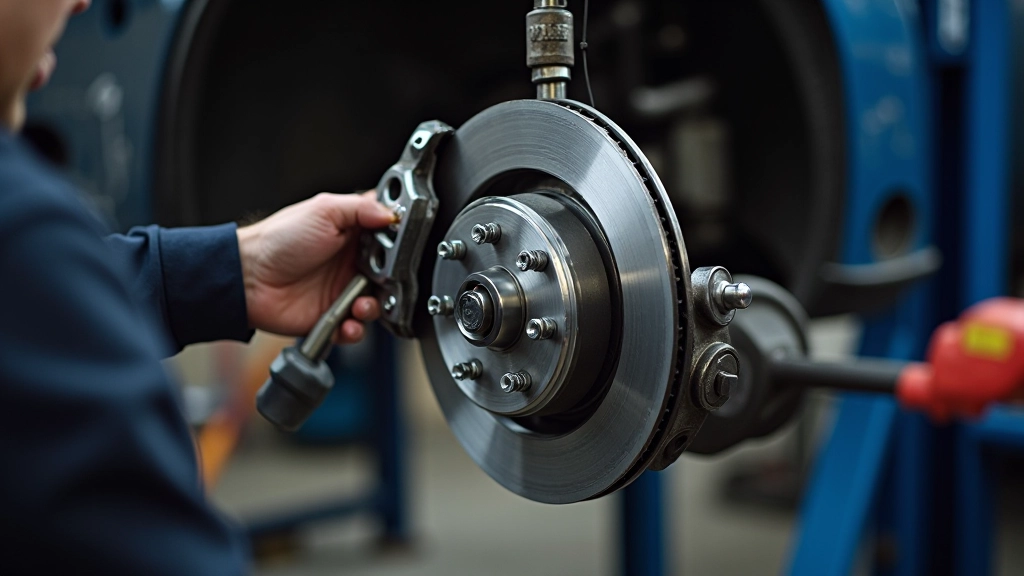
This is crucial. You're not removing the caliper entirely — you're just moving it out of the way. Unbolt the caliper mounting bracket (usually two bolts), then hang it with a wire or rope from the suspension coil. Never let it hang by the brake hose. This puts stress on the hose and can damage it.
With the caliper out of the way, the rotor slides off. Sometimes it's stuck from rust. Use a rubber mallet and tap around the rotor's edge gently. Don't hammer the center — you'll damage the hat section.
If your vehicle has an ABS sensor, unplug the electrical connector. It's usually a simple clip connection. Gently work it free. Don't yank on the wire — the connector is more fragile than you'd think.
This is where the breaker bar comes in. The hub nut's tight — really tight. It's designed that way. Use the breaker bar for leverage. Once it's loose, finish unscrewing it by hand. Keep it somewhere you won't lose it. You'll need a new one when you reassemble.
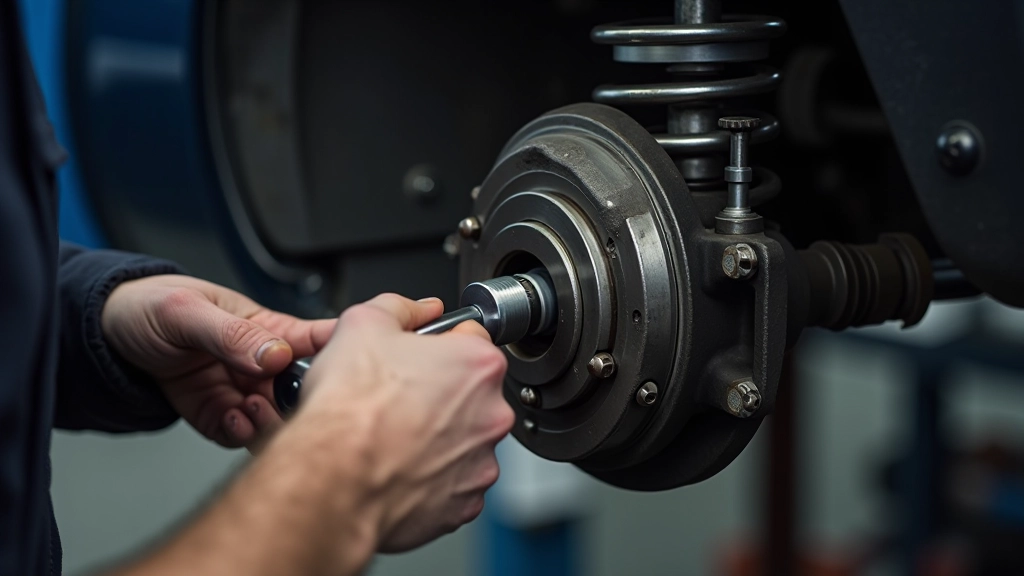
Now comes the part where patience matters. The hub's splined onto the axle. Sometimes it comes off easily. Sometimes it's been sitting there for years and doesn't want to move. Don't force it with a hammer — you'll damage the axle splines.
Use a plastic mallet and tap gently around the back of the hub. Tap, pause, tap again. Work your way around the entire circumference. The hub will gradually shift. It's a "persuasion" situation, not a "brute force" situation.
If it's really stuck, spray some penetrating oil around the axle and hub junction and let it soak for 15 minutes. Then try again. Sometimes you'll need to do this two or three times over an hour. That's normal.
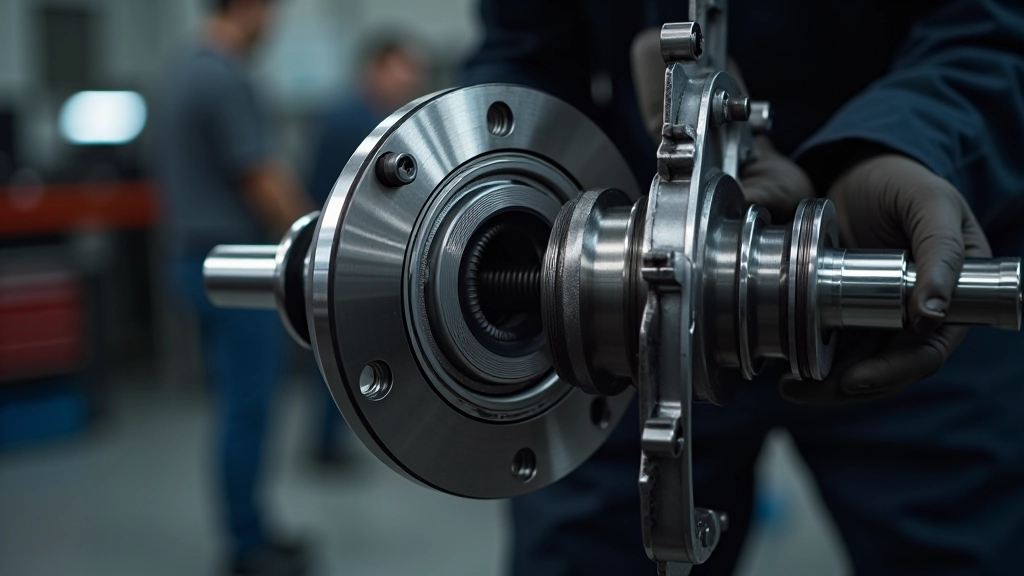
Once the hub's off, set it on a clean surface where dirt won't accumulate. Don't touch the bearing surfaces with bare hands — the oil from your skin can cause corrosion. Wear gloves or use a clean cloth.
Inspect the axle. Look for scoring, spline damage, or corrosion. If the axle's damaged, it needs replacement. A damaged axle will wear out a new bearing quickly. Check the bearing seals on the removed hub too. If they're cracked or leaking, that's why the original bearing failed.
You're now ready for the next stage: bearing press setup and installation. That's where precision becomes critical. The hub assembly removal is about patience and avoiding damage. The bearing installation is about getting the fit exactly right.
Continue your learning with these connected articles on bearing service and installation.
Learn how to prepare your bearing press correctly and set the right pressure for safe, accurate bearing installation without damaging components.
Read Guide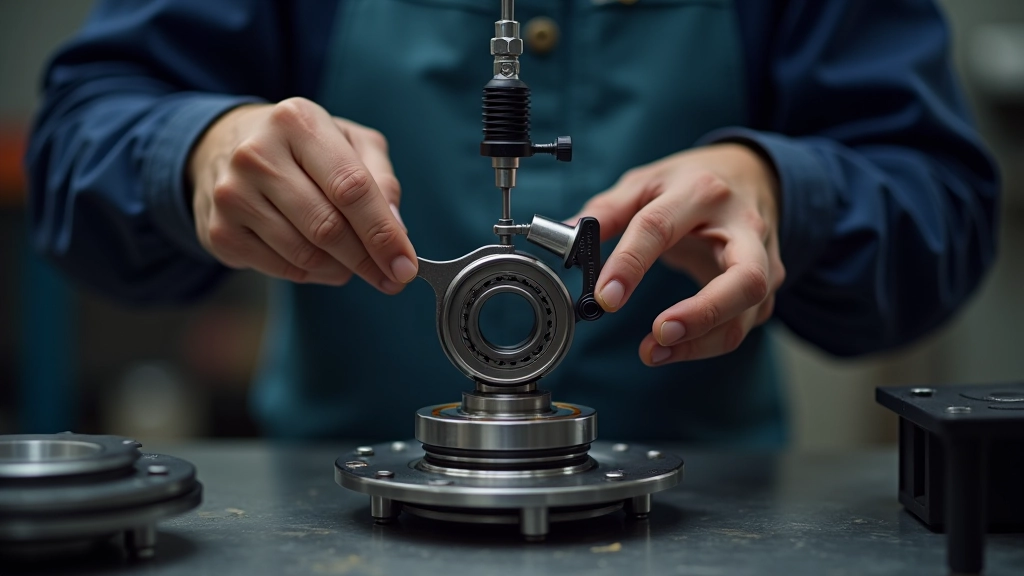
How to test your work properly after bearing replacement. Includes rotation checks, play measurement, and verification techniques for reliable results.
Read Guide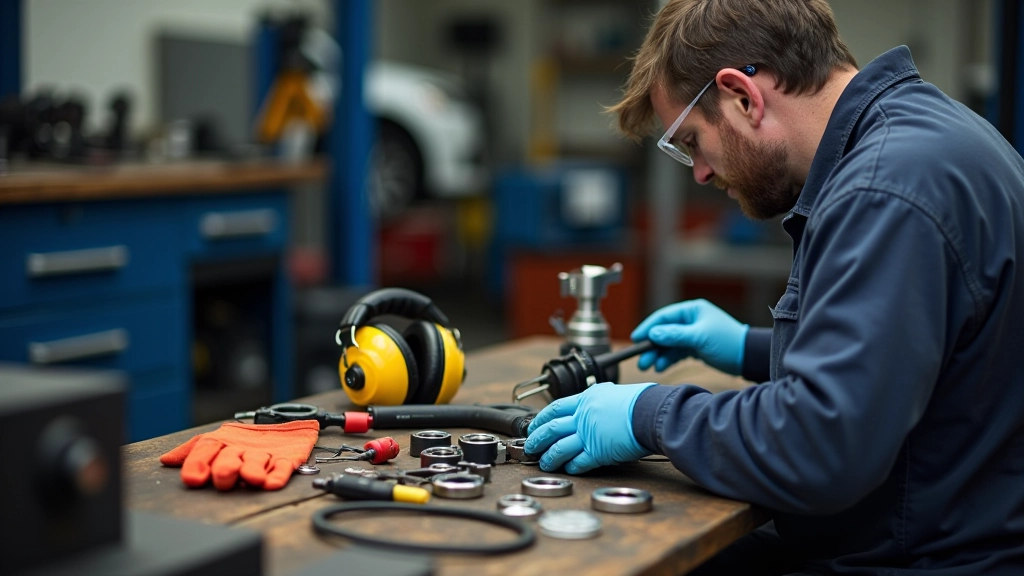
Essential safety protocols for bearing press work at our Šiauliai facility. Covers equipment operation, personal protective equipment, and emergency procedures.
Read Guide